Caulking A Bathtub How To Instructions
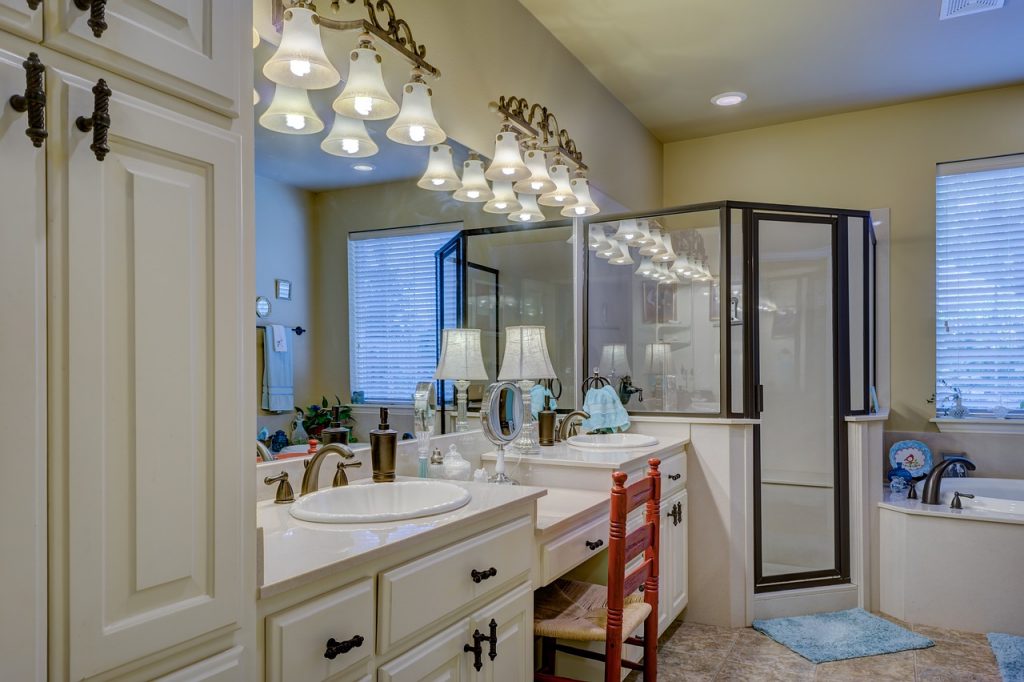
A bathroom is a place of great activity in most households. When it comes to showers, bathtubs, sinks, toilets, everyone needs to use them and depending on how many you have in your home you may have to schedule times to make sure everyone gets their turn. So with that said your bathroom is one room in the house that typically gets way more traffic than you have ever given much thought.
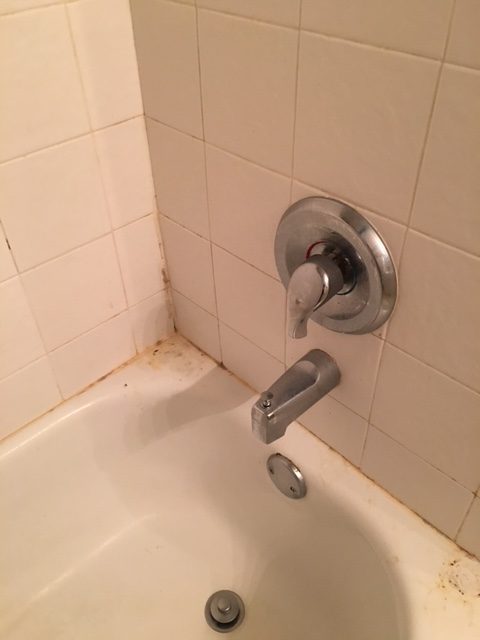
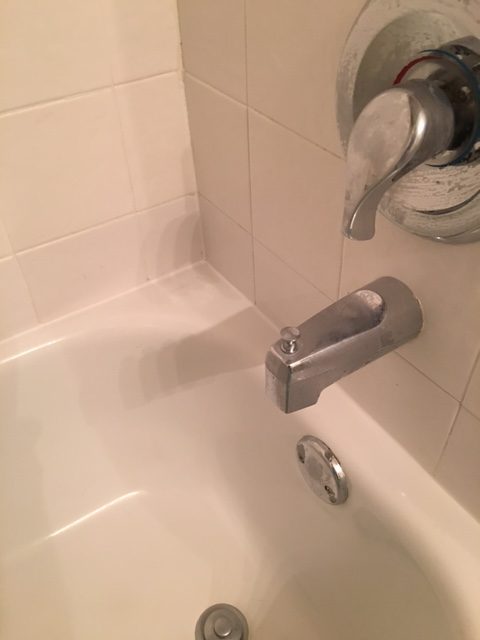
Today we are going to discuss the caulking around the bathtub and how to re-caulk it to make things look fresh and new again as well as to prevent water damage from occurring to the walls around the tub, as well as to the subfloor.
As you know water damage can happen quickly and can cause a great deal of damage. It does not take a very large opening for water to find a path to creating total destruction of a home. There is physical water damage that you can see, it can also create rot and mold. All three of these can be devastating and very costly to repair. Keeping up with regular maintenance can prevent all of these horrible things from occurring in and around your bathtub.
Here are some steps to consider when starting a new caulking project.
- Clear the area of all items such as soap, bottles of shampoo and conditioner, razors, wash clothes, candles, and any other items you may have placed on the edges of your bathtub.
- Clean the area with your favorite bathroom cleaners.
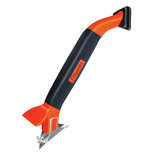 Start removing the caulk from the edges of the tub. I suggest you get a 3-in-1 1caulk removal tool similar to the one shown here in the picture. This tool allows you to remove, and reapply caulk quickly and professionally.
- Once you have the majority of the caulk removed, I like to go over each area with a straight scraping razor as well to scrape away any excess caulk that may be left stuck to the wall or the tub.
- Thoroughly clean the area again. Be very careful to not let large amounts of water get to the areas that are now open due to the caulking being removed. I suggest using some spray type cleaner around these areas and thoroughly clean the area to remove all traces of old caulking, soap scum, and mildew.
- Allow the area to fully dry before adding in the caulking. You can aid in the drying process by using a towel to help dry the area.
- Reapply a bead of caulking around the tub to fill the area that you just cleared away. Using the rubber end of the 3-in-1 tool will allow you to get a neat and professional looking bead running around the entire tub.
- Now that you have applied the caulking it is best to allow the caulking to dry for as long as you can without getting it wet. Read the instructions on the back of the caulking you purchased, I tend to prefer 24-48 hours before allowing shower use, but some manufacturers say you can go much less.
 |
 |
Now that you have your bathtub fully caulked and looking nice again, keep up with a normal cleaning schedule, and you can help your caulking job to last much longer. Here is a nice video of the 3-in-1 tool in action.